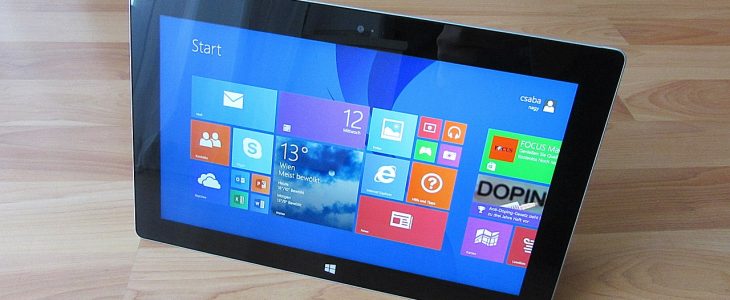
To setup Smart DNS in Windows 8 please follow the next instructions:
- Select Windows Explorer > Computer > Control Panel from the toolbar.
- Select Network and Internet > Network and Sharing Center.
- Click Change adapter settings.
- Select Local Area Connection or Wireless Network Connection if you are connected via Wi-Fi.
- Uncheck the Internet Protocol Version 6 (TCP/IPv6).
- Double click on Internet Protocol Version 4 (TCP/IPv4).
- In the General tab click on ‘Use the following DNS server addresses’.
- Input Smart DNS IP address from the letter with your details.
- Make sure Validate settings upon exit is checked (if present) and click OK.
- Windows Network Diagnostics will start and run for some time.
- After the diagnostics finished click Close and restart your computer.
Important:
In case if you are using Google Chrome browser you need to deactivate internal Chrome DNS.
Deactivating it causes Chrome to use your system setting for DNS.
You need to load chrome://settings/security in the Chrome web browser’s address bar to access it.
Scroll down to find Advanced section. There you will find an option to enable or disable Secure DNS.


Recent Comments