Go to the Control Panel
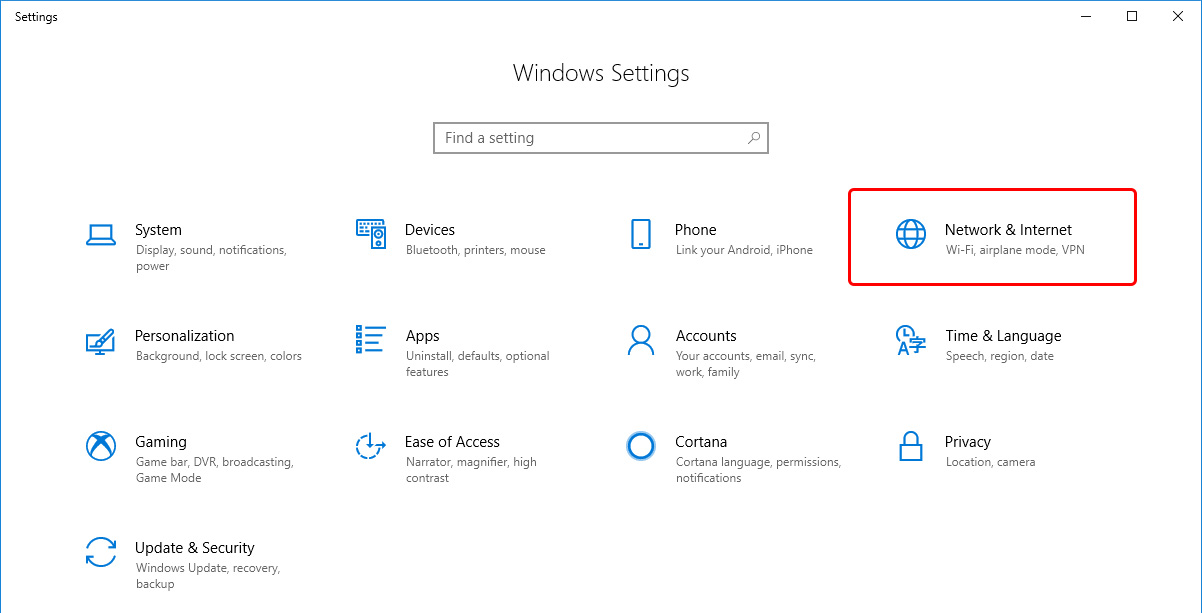
Click on Network and Internet
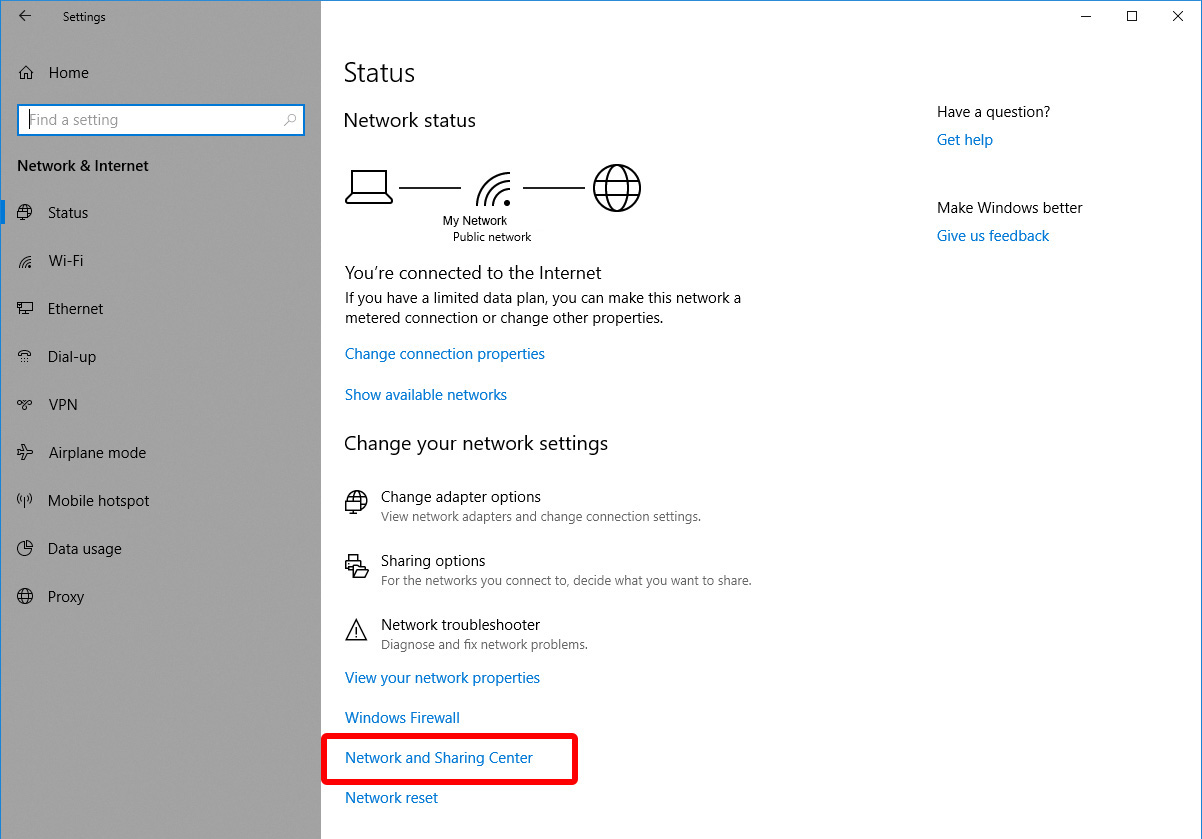
Click on Network and Sharing Center
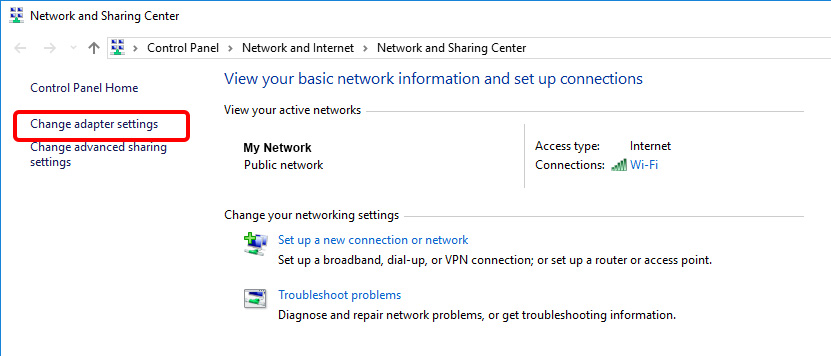
Go to Change Adapter Settings.
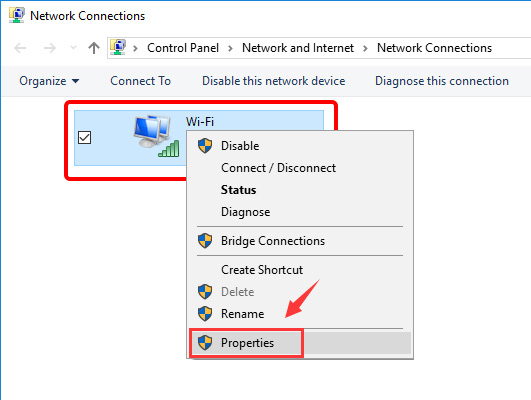
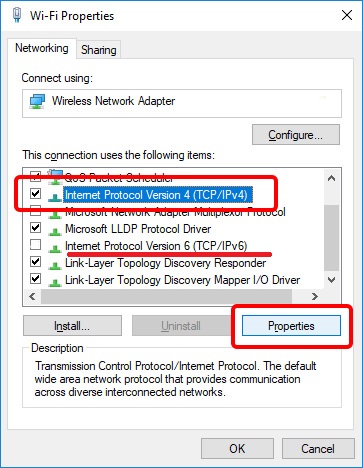
You’ll see some network icons here. Select the network you’re currently connected to and right click on it. Select Properties.
DON’T MISS !!!
Please uncheck Internet Protocol Version 6 (TCP/IPv6).
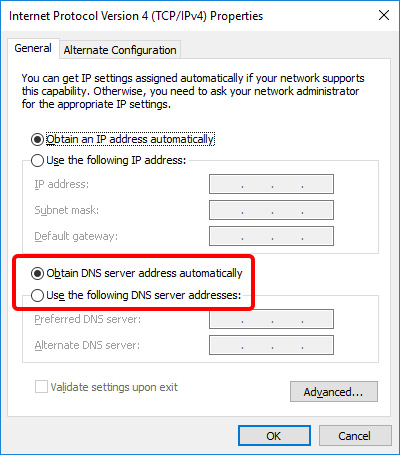
Double click on IPv4 and to open it’s Properties.
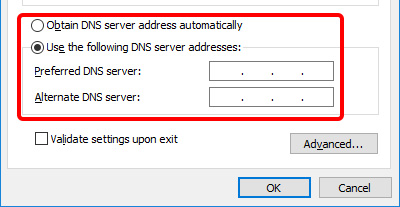
If “Obtain DNS server address automatically” is selected, click the radio button next to “Use the following DNS server addresses:”
Now enter your SmartDNS IP address that you received in your account data as Preferred DNS server.
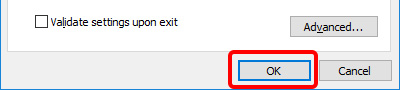
Click on Ok and Close.
Click “Start” and type the word “cmd”. You will see black icon of cmd.exe program. Click it.
In the open prompt, type “ipconfig /flushdns” (without the quotes). You should receive a message of your success as confirmation when the cache is cleared.
Also delete your browser cache or open new private/anonymous window in the browser.
Important:
In case if you are using Google Chrome browser you need to deactivate internal Chrome DNS.
Deactivating it causes Chrome to use your system setting for DNS.
Click 3 points in the right upper corner, choose Settings, scroll down
to ‘Privacy and Security’ section, pick Security there, scroll down to
Advanced, uncheck ‘Use secure DNS’. Restart Chrome browser.


Recent Comments